Stones stay in the template
Stop the lift and inspect whether the carrier contacted the stones evenly.
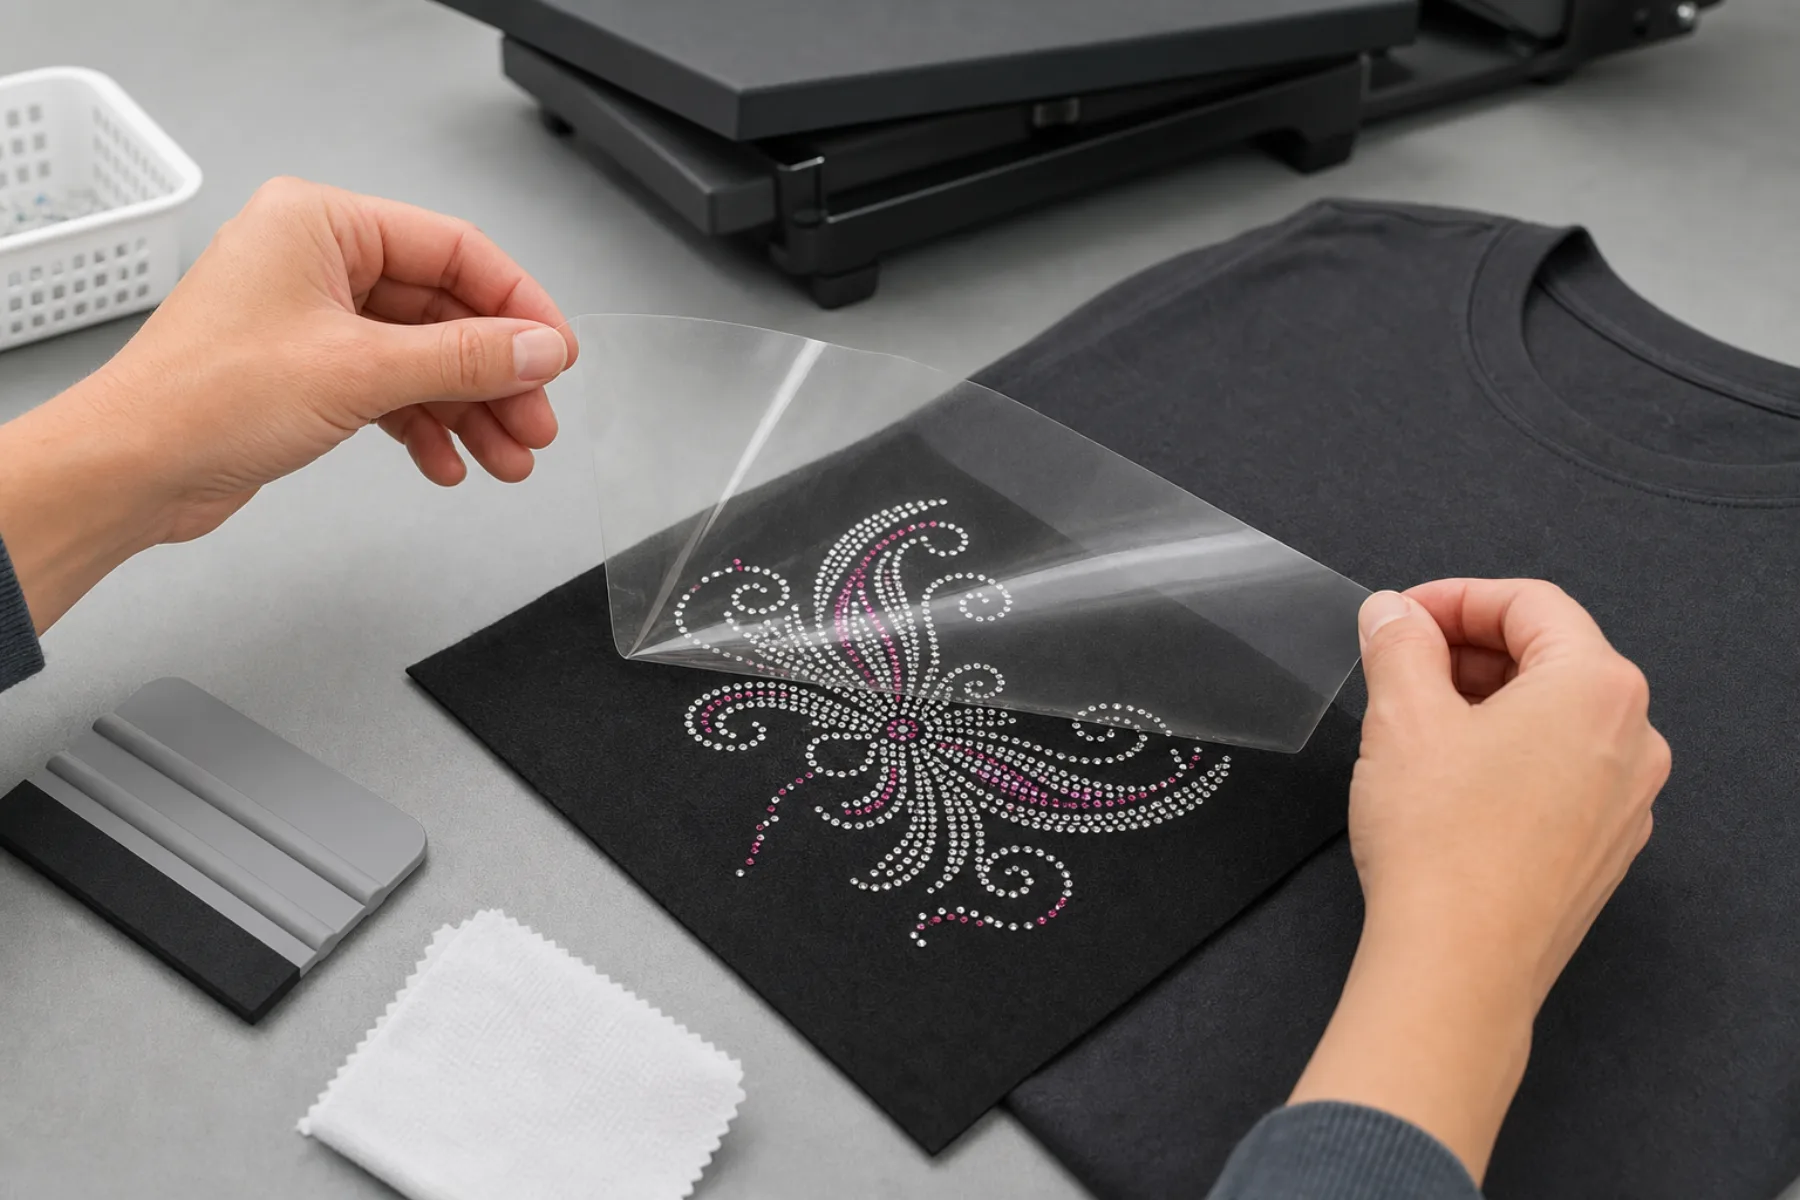
From cut template to aligned transfer
Plan the brush, lift, alignment, and application steps around your supplier instructions.
Plan the transferOpenings hold each stone in the intended position.
Transfer tape lifts the brushed design as one unit.
Centerlines and measured offsets place it on the surface.
Supplier instructions determine the correct process for the materials.
Keep the measured design, orientation, and verified supplier settings together. The site does not choose application settings for you.
Tested by: ____________________ Date: ____________________
Use the list as a sequence check. It does not replace product or equipment instructions.
The template can be accurate and the transfer can still fail during pickup. Support the carrier, watch the first few rows, and pause if stones stay in the template or move sideways.
Before the lift, mark a top edge or centerline outside the design. After the lift, compare the transferred width with the project card. A visible size change can reveal stretching or a shifted layout before application.
Make a cut-test strip firstStop the lift and inspect whether the carrier contacted the stones evenly.
Support the carrier close to the lift line and reduce sideways pull.
Return to the orientation note and trace the path from template to final surface.
Measure from stable project edges, not folds or temporary wrinkles.
Do not guess a stronger setting. Return to the exact product and fabric instructions.
Keep the finished sample and record the care method used during evaluation.
Stone backing, adhesive, carrier, fabric, coating, equipment, and supplier guidance can vary. This page intentionally provides no generic temperature, time, or pressure value.
Record the exact instruction source in the project card, test a representative scrap, and stop if the material shows damage or the process conflicts with its care guidance.
There is no safe universal preset for every stone, adhesive, fabric, and machine. Copy the settings from the exact supplier instruction source and keep them with the test result.
No. It contains the entered design boundary, centerlines, edge ticks, and dimensions. It is a positioning aid, not a replacement for the template file.
The card is assembled in the browser and downloaded as a text file when you press the button. This page does not need an account or a server-side project record.
No. Its accuracy depends on correct dimensions, import or print scale, stable project reference points, and careful physical alignment.
Last reviewed July 27, 2026.