Private browser workbench

Turn artwork into a rhinestone template.

Choose a picture, control the dot pattern, size the finished design, then export an SVG for your cutter. Your source image stays on your device.

  • No account
  • No image upload
  • Editable SVG output
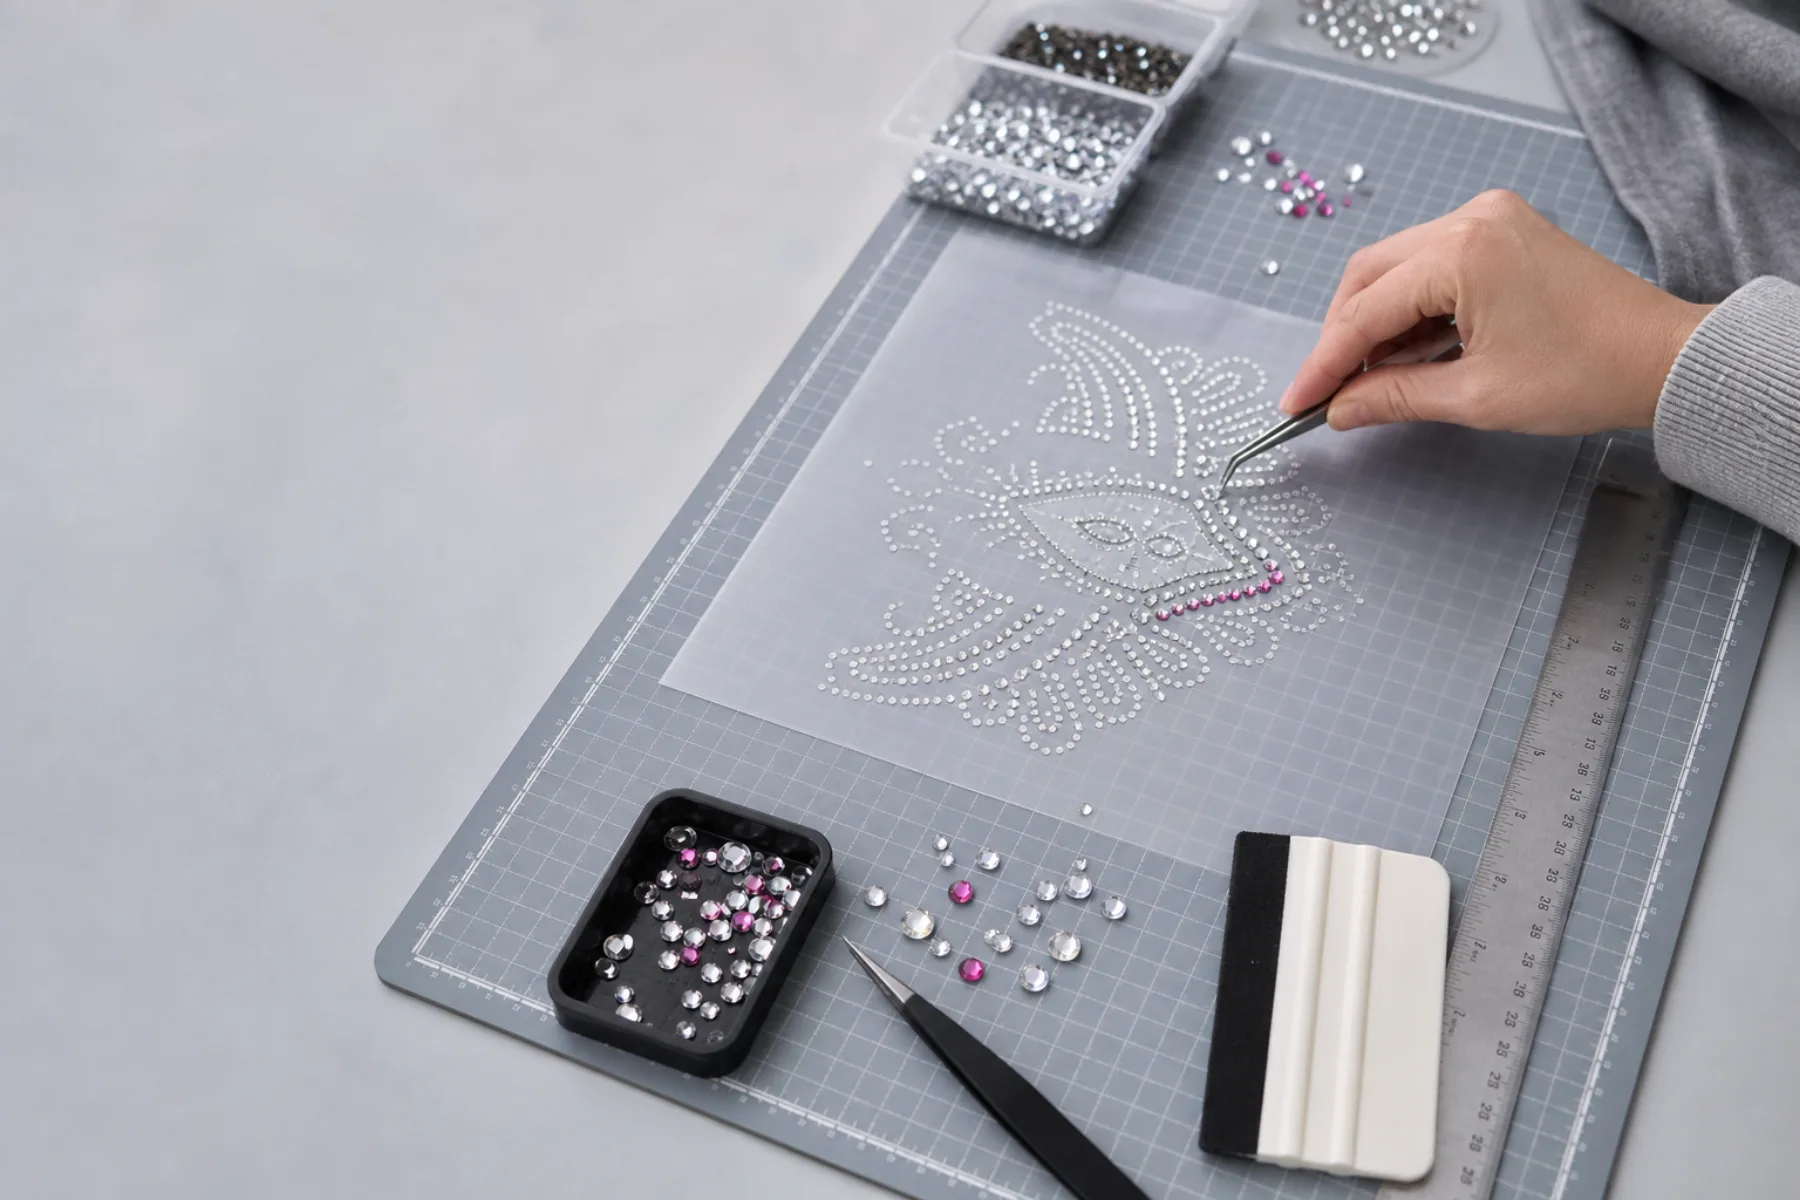
Illustrative overhead studio view of a rhinestone craft workbench with a dotted flower template
01 From source art to a spaced dot layout
1. Load locallyPNG, JPG, or WebP
2. Tune the gridStone diameter and gap
3. Export SVGTest before a full cut

Template maker

Build the dot pattern, not just a preview.

Start with a high contrast image. The controls below turn sampled dark or light areas into circles with physical millimeter dimensions.

Local template workspace

Build a measured dot pattern

Your source artwork stays in this browser. No file or image content is sent to analytics.

No image loaded

Tone selection
128
Physical layout

SS values are approximate. Measure your stones and use the calibration strip with your actual flock and blade.

Waiting for an image
Local processing
Your dot preview appears here

Start with a simple silhouette or bold line drawing.

Stone count
0
Finished size
Not calculated
Sampling grid
Not calculated

Preview and measurements are planning aids. Import the SVG at its stated size and make a small test cut before using production material.

A reliable first cut

Three measurements matter.

01

Stone diameter

SS labels are ranges, not exact universal measurements. Measure the stones you actually have or use the supplier's specification. A nominal SS10 stone is often around 2.7 to 2.9 mm, but batch and brand differences matter.

Compare size ranges
02

Template hole

The cut hole usually needs to be slightly larger than the stone so it brushes in without falling through. Start with a modest allowance, export the calibration strip, and test the exact flock and blade combination.

03

Gap between holes

Spacing protects the small bridges of template material between holes. Dense dots may look smooth on screen but tear or merge on the cutter. Increase the gap when small bridges lift during weeding.
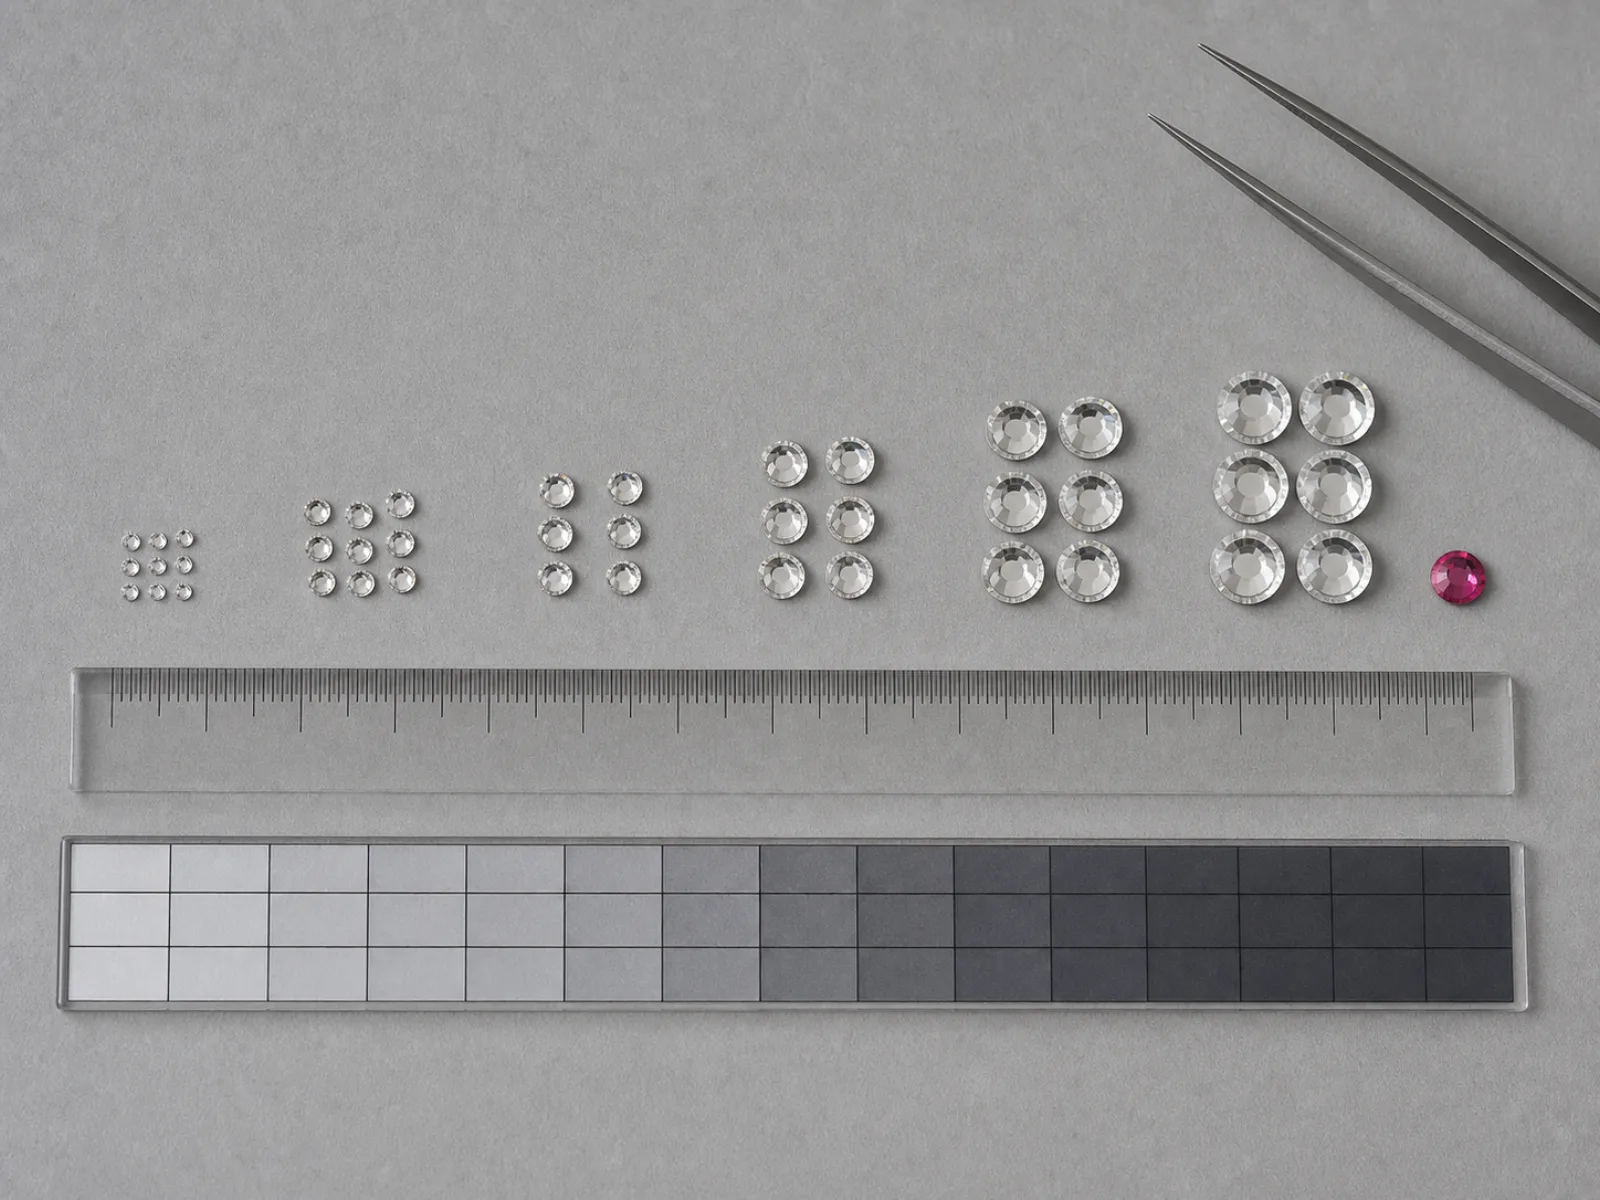
Illustrative macro photograph of crystal rhinestones arranged beside a millimeter ruler and calibration grid

Before you export

Use the count as a materials check.

The estimated stone count is the number of circles in the exported SVG. It helps you compare versions and prepare material, but it is not a purchasing guarantee. Keep extra stones for loss, defects, and changes during brushing.

Useful comparison

If two settings create a similar silhouette, choose the one with fewer stones and stronger gaps first. A readable low density design is often easier to cut, weed, brush, and press.

Download original test templates

File and cutter checklist

A valid SVG is only the first checkpoint.

Before cutting

  • Confirm the document width in your cutter software.
  • Make sure circles remain separate after import.
  • Use a small calibration strip on the real template material.
  • Check that the smallest bridges do not lift from the carrier.

Before pressing

  • Compare the physical transfer to the intended garment position.
  • Use a clean test swatch of the same fabric.
  • Follow the stone and garment supplier instructions.
  • Check adhesion after the sample cools as directed.
Open the transfer guide

Questions before cutting

What this maker does and does not do.

Does the maker upload my image?

No. The file is decoded with browser APIs, processed on a local canvas, and converted into SVG text on your device. Plausible records coarse actions such as an export, not filenames or image contents.

What kind of image works best?

Use a simple, high contrast shape with a clear silhouette. Detailed photographs create noisy dot patterns. Crop first, then adjust threshold and invert until the main shape reads at normal viewing distance.

Can I use the SVG in Cricut or Silhouette software?

The export is a standard circle based SVG. Import behavior and physical results vary by software version, machine, blade, mat, and material, so verify document dimensions and run a small test cut.

Why are my holes merging?

The selected hole diameter is too large for the grid pitch, or the physical cutter is widening the holes. Increase the gap, reduce cut compensation, or use a larger finished design.

Is this a replacement for design software?

No. It is a narrow conversion and calibration tool. Use vector software when you need manual path editing, mixed stone sizes, complex lettering, or production nesting.

Method notes

Transparent assumptions

The generator samples a regular grid from a resized grayscale copy of your image. A dot is placed when the sampled tone crosses your threshold. This makes the result predictable and easy to cut, but it does not trace every image edge or optimize stone placement by hand.

Dimensions and counts come from the chosen grid pitch. They are planning estimates. Real stone diameter, template material, blade offset, adhesive, transfer tape, and press conditions introduce tolerances that a browser cannot measure.

Content reviewed July 27, 2026.